Project HQ GTS tribute: Part 5
 Project HQ GTS: Part 5
 Project HQ GTS: Part 5
 Project HQ GTS: Part 5
 Project HQ GTS: Part 5
 Project HQ GTS: Part 5
 Project HQ GTS: Part 5
 Project HQ GTS: Part 5
 Project HQ GTS: Part 5

 Project HQ GTS: Part 5
 Project HQ GTS: Part 5
|
|
|
Project HQ GTS: Part 5
|
|
|
|
Project HQ GTS: Part 5
|
|
|
|
Project HQ GTS: Part 5
|
|
|
|
Project HQ GTS: Part 5
|
|
|
|
Project HQ GTS: Part 5
|
|
|
|
Project HQ GTS: Part 5
|
|
|
|
Project HQ GTS: Part 5
|
|
|
|
Project HQ GTS: Part 5
|
|
|
|
Project HQ GTS: Part 5
|
|
|
|
Project HQ GTS: Part 5
|
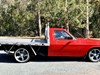
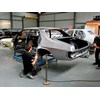
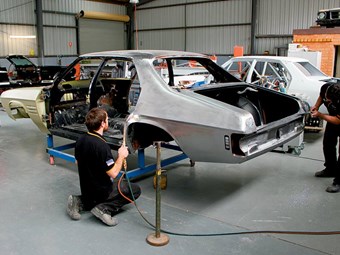
Our mighty HQ is starting to look like a car again
|
|
Project HQ GTS: Part 5
|
Project HQ GTS tribute - part 5
View behind the scenes gallery at Bendigo Retro Muscle Cars' facebook page
GETTING PRIMED
Young Gary O’Brien, ringmaster of Bendigo Retro Muscle Cars, was on the phone and a bit stressed. "Mate, can we get a bit of extra time before you come up?" His ‘normal’ workshop was flat-out, plus his retro business, which he calls his "sandpit", was up to its ears in work, and he was hoping to cadge a little extra time before Uncle Phil and I invaded for an update on Project HQ GTS.
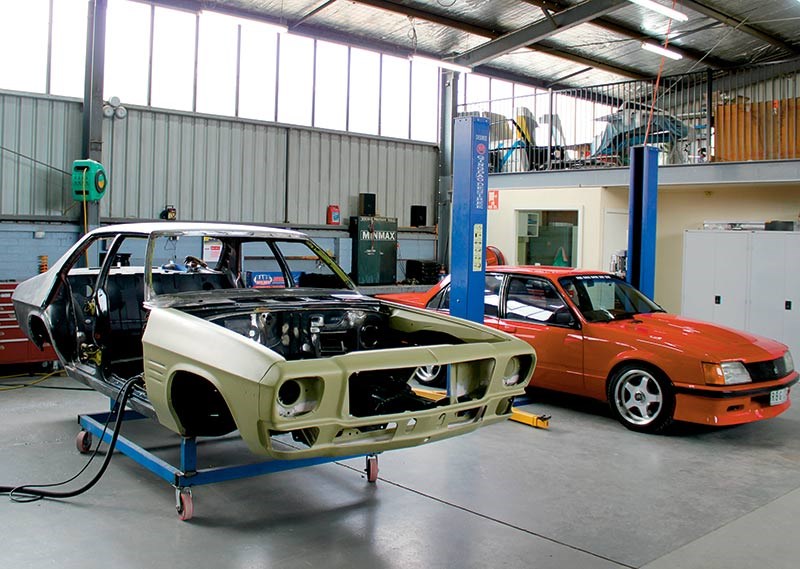
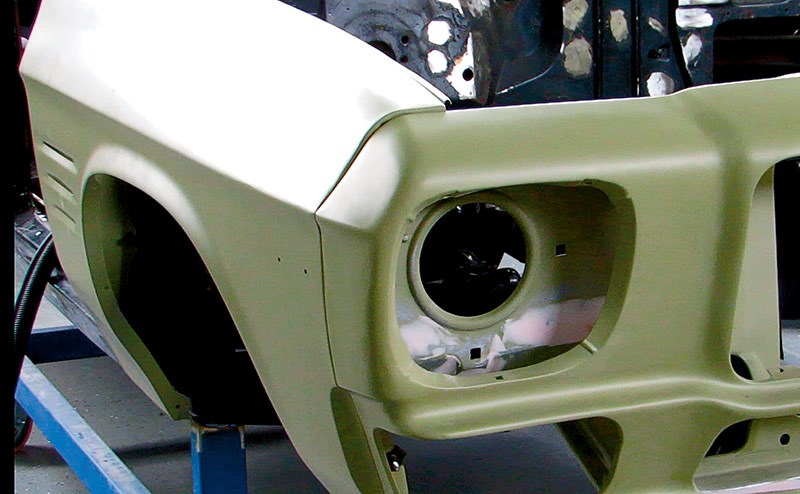
Sadly, we were right up against deadline. As it turned out, Mr G had nothing to worry about as the panels have been repaired where required, while many have been primed. The crew had made huge strides with the car which, after weeks looking like an anagram of an HQ, was starting to resemble something its maker might actually recognise.
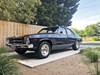
You might recall this is O’Brien’s ex-racer, a big black monster that had its share of success in the Touring Car Masters circus before some bright spark decided we should retire it and turn it back into a road car. Over its lengthy career, it’s been modified to accept everything from a towbar through to a race engine and fuel system, gathering a few inevitable hits along the way.
As you’d expect for a forty-year-old vehicle, it could use a little cosmetic surgery. A quick de-rust, fill and paint might be tempting, but the Bendigo crew could be accused of being obsessive.
Uncle Phil spotted an example: one of the doors. When we last saw it, much of the bottom half was either missing or was tissue-thin, thanks to a combo of rust and a pretty severe smack on the racetrack. "One of these doors was fairly extensively hurt," he said. "I just went and had a look at it, and I can’t see where it’s been repaired!"
O’Brien can’t help being a little proud of his crew’s abilities. "The guys are at the top of their game," he reckons. "That door was missing the inside frame, it was rotten. So we grabbed a Rare Spares section and put it on. The boys have ‘tigged’ [welded] it in and you can’t feel where it’s been welded."
In fact, remanufactured panels feature heavily in this build, and O’Brien warns that you should not expect them to be a perfect fit – they need a little finessing to get right. That’s the nature of old cars, particularly when you’re working with something that wasn’t millimetre-perfect even from the factory.
"The old OEM panels did cause panel-beaters in the day a few problems," O’Brien explains. "When we get a Rare Spares panel it might be a couple of millimetres different, that’s well within spec and most of the good operators can deal with that."
He points to an example – a front guard that’s sitting proud of the HQ’s snout. The solution is to loosen off the radiator supports and start shuffling panels, compromising until you get it close, before smoothing out for the end result.
Other replacement items have moved along in leaps and bounds. "I did a quick trip to Melbourne and bought a rubber kit, because when we’re pre-fitting the doors we like to put a rubber on. These rubbers today are as good as you’ll buy anywhere. In the early days they used to cause a few little issues. But today they’re so compliant, they’ll seal up any door on any car. They’re terrific."
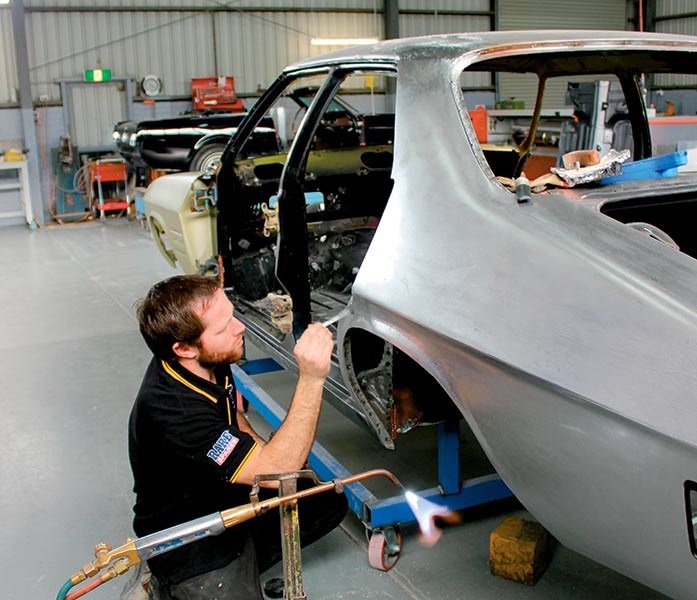
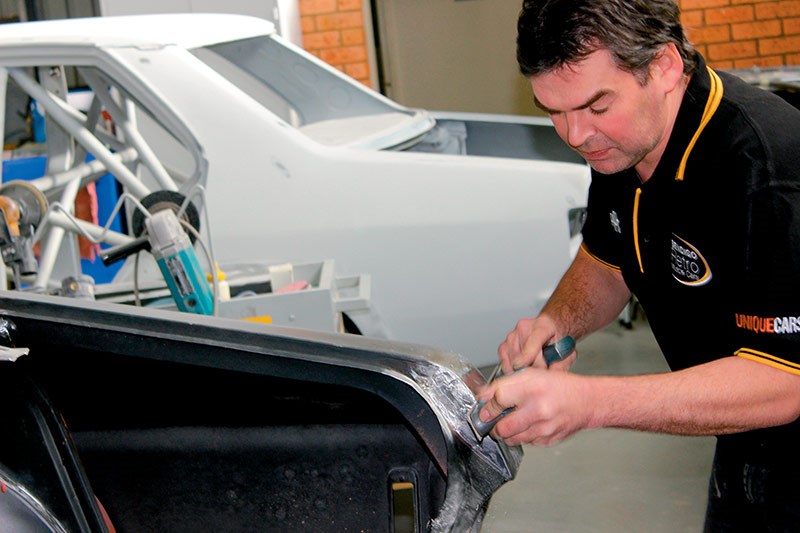
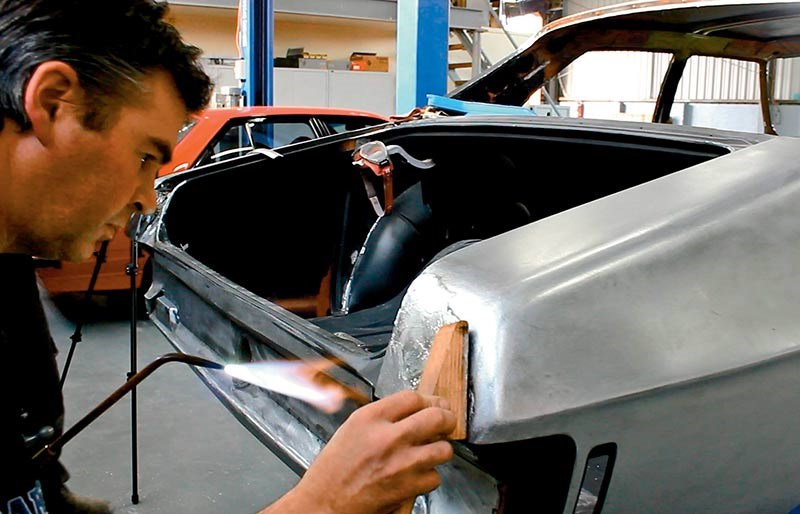
Uncle Phil was intrigued to see the Bendigo crew patiently lead-filling the critical seams in the car, such as between the roof and C-pillar and where the rear guards met the curved tail panel. "This is an art in itself," he said.
"It’s something that’s regained popularity again in the last few years," commented O’Brien. "There are a lot of tradies in America still doing it and people are seeing it on video, so it has become popular again. It’s a very similar process to what was done at the factory."
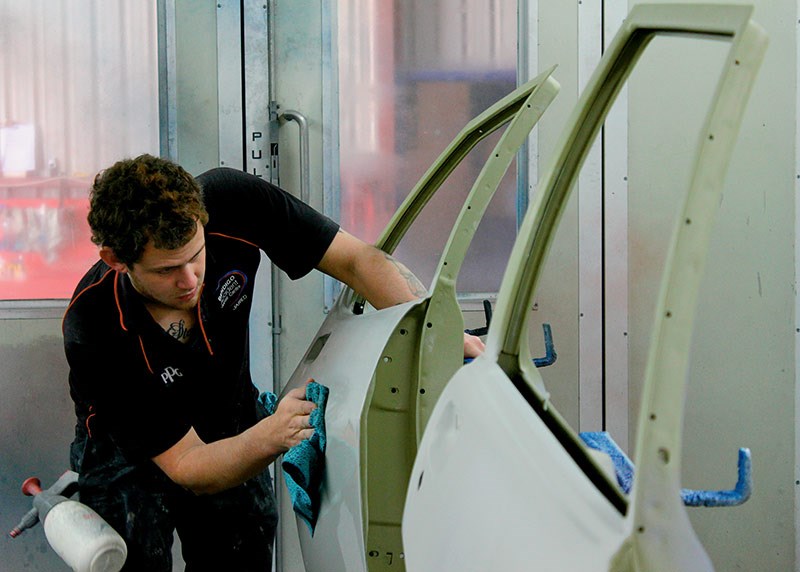
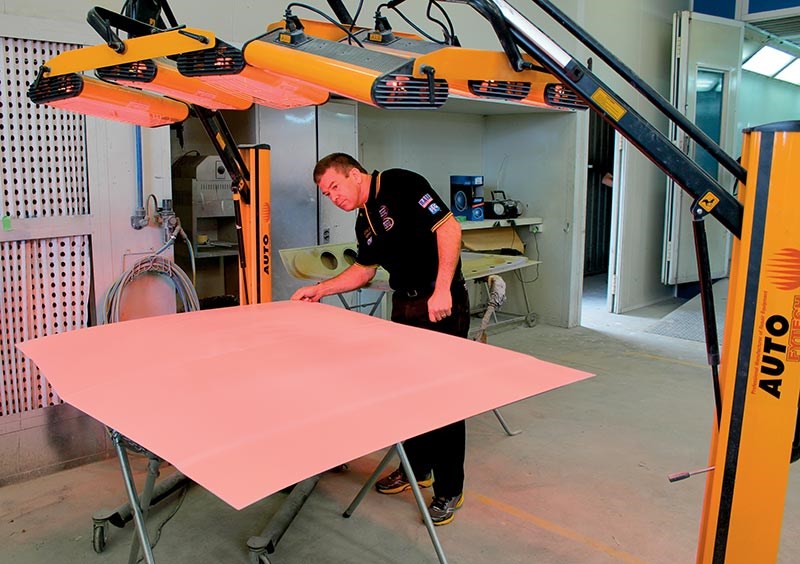
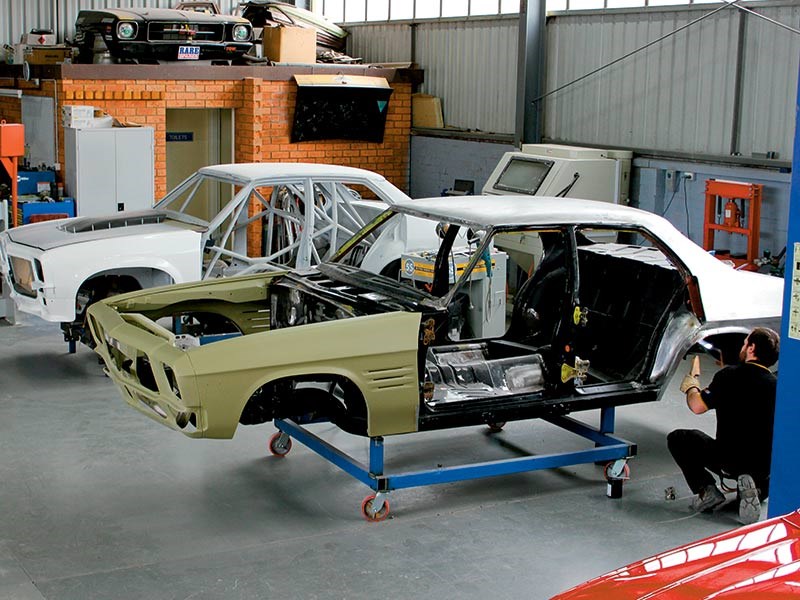
Wandering around the Bendigo Retro Muscle Car shed, you couldn’t help but notice that several panels were sporting different layers and colours of primer. What’s going on here?
"We’re going with the water-based PPG process, a two-pack," explained Mr G. "It’s the only way to do it. When you apply the products as per the instructions you’ll end up with a paint job that will last many years. It will outlive the original. The paint today is absolutely superb.
"The guys have applied some epoxy primer, which is corrosive-resistant. We put that on so any body fillers and paint primers can stick to it. The next process is the high-fill.
"From our point of view the speed of the product is very important, when you’re dry-sanding. The process is now so streamlined that in our micromanaged world, the product has kept up with the times. The guys spend far less time processing the panels these days. It’s probably half the time; a big saving."
PPG has gone to the trouble of having a territory manager drop in to advise on the whole process – a chap named Daniel Barbosa. He’s also a little intrigued by the job, as it’s not every day he gets to watch a restoration of this depth. The company is a USA-based firm, with a long history going back to 1883.
Back to O’Brien: "Because this old car has been repaired, we’ll use a high-build primer. Most of these primers are designed as a high-build or normal application. On a newer car, you wouldn’t have to put as much on. But we need the luxury of being able to block down a couple of microns to put the next coat of primer on, to get that level of finish that we require."
In reality that means the crew will generally be rubbing back a pretty thick layer of about 150 microns trimmed to about 80 or so.
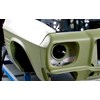
For this car, perhaps the most significant upgrade has been the ability to spray on a corrosion resistant primer to keep the rust fairies at bay, including areas such as inside the doors. In reality the car is far more labour-intensive to build than the original manufactured item, with hundreds (perhaps thousands) more hand-build hours going in to it.
That means it will end up as a better-finished and longer-lasting product.
So what’s next? The crew will be finishing off the panels, applying the remainder of the primer coats and getting the whole set-up ready for the top coat. As is usually the case, most of the work in getting the paint right is in the preparation, though watching the colour go on is the fun part. Watch this space…
Rare Spares hot tip:
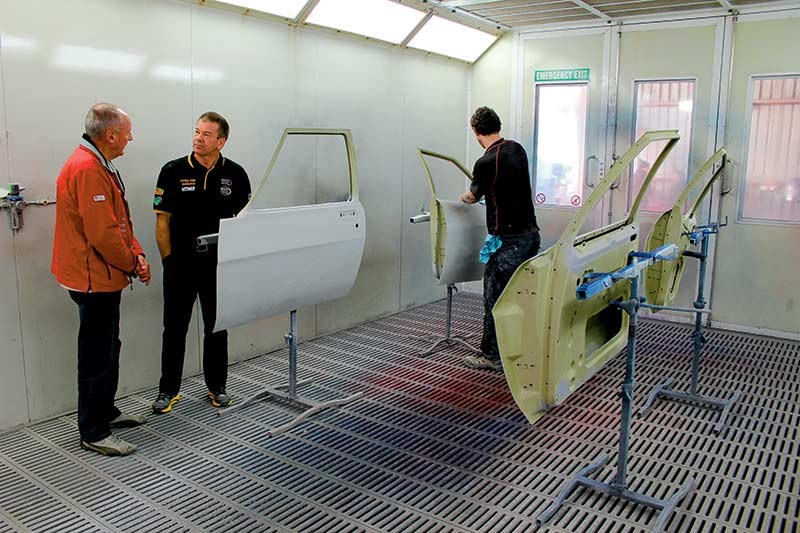
When you’re preparing the body for paint, it pays to pre-fit panels such as doors, bonnet and boot, with seals, to ensure it’s all going to assemble correctly after the top coat has been applied.
It’s a whole lot easier (and wiser!) to make any adjustments while the body is still in primer and easily repaired.
Links:
 |
Visit the website: www.bendigoretro.com.au |
 |
Rare Spares: |
Unique Cars magazine Value Guides
Sell your car for free right here
.jpg)
Get your monthly fix of news, reviews and stories on the greatest cars and minds in the automotive world.
Subscribe