
Falcon GT-HO Phase III Project part 2: Body-Building
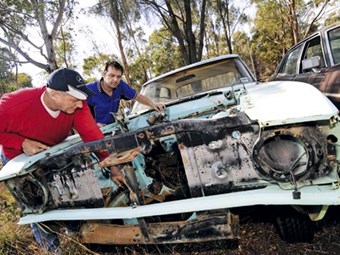
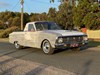
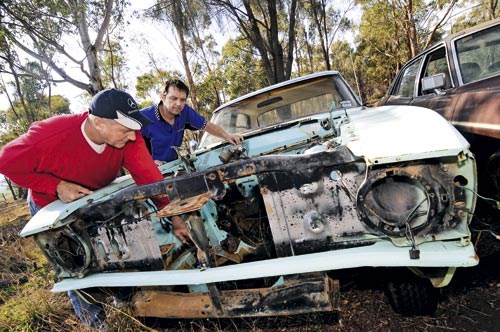 Here's our paddock find - tired but pretty straight and original. Staffer Phil Walker and Grand Tourer Restorations boss Neil surveythe work ahead.
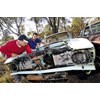
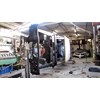
 Phil pokes around underneath and doesn’t look too happy. It’s becoming painfully obvious that even a good body like this will swallow hundreds of hours in labour.
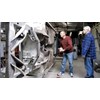
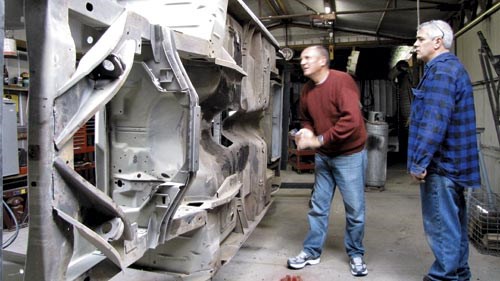
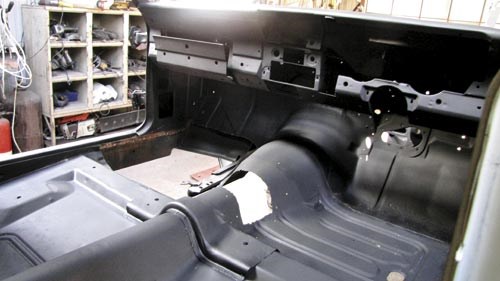
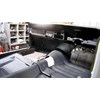
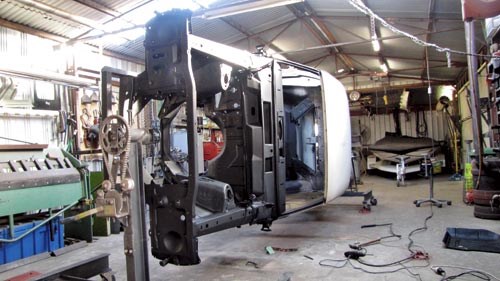
 Our panel beater has got stuck in and already you can see signs of the conversion from Falcon 500 to GTHO specs, namely the cutout for the modified transmission tunnel.
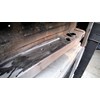
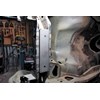
 The rear-end of an HO requires numerous changes, including new hangers for exhaust system and sway bars.
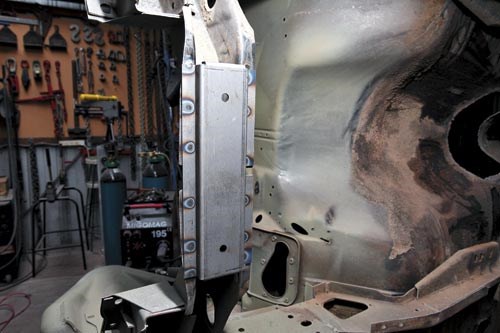
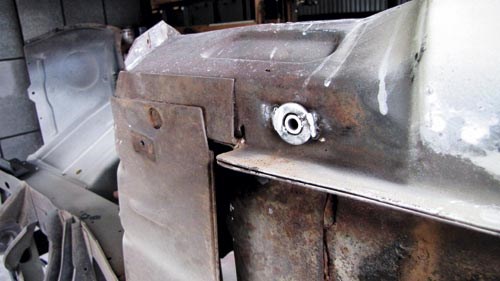 The detail work extends to the front-end, where a properly prepared car will end up sporting a number of new mounts and supports.
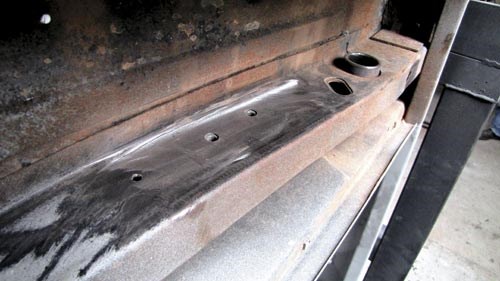
 A bigger engine and more power means more stress on the body and the need for more bracing, like this one under the front seats.
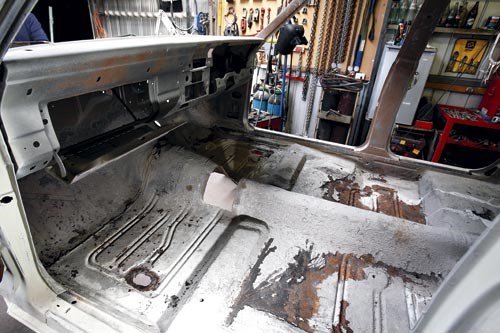
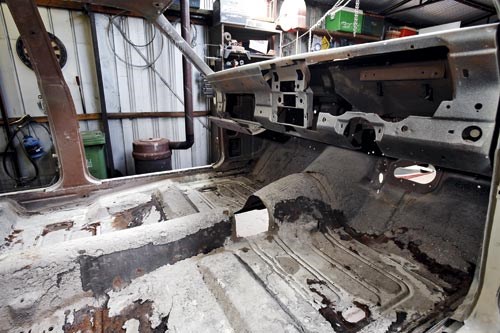 The floor pan is a sad and sorry sight at this stage. While the required holes have been cut, there’s a long way to go.
 The ‘after’ shot; by now it’s been sand blasted, braced, and given a coat of epoxy. But the
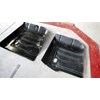
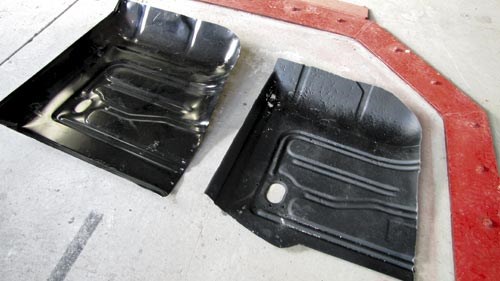 And here it is at left. The one on the right doesn’t look too bad from a distance, but close inspection reveals it’s riddled with rust.
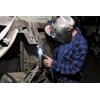
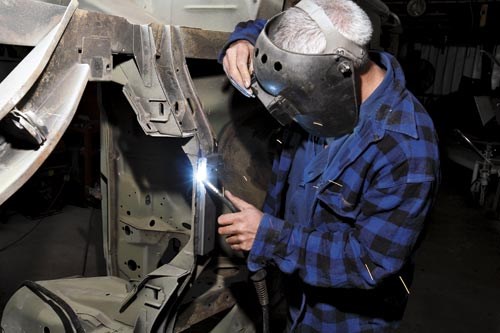 Mick gets busy with the welding kit and installs new bracing. This is a crucial element on the lower front crossmember.
 It’s not just for appearances. The HO will be running around 400 horses, which will be enough to turn the original setup into a twisted mess.
 We’re getting close. Our remarkably tidy Falcon body still required something like 200 hours to get it into shape. The panel people reckon some projects have required more like 550! All this trouble might seem pedantic but even a top-notch replica Phase III is worth well into six figures, so it makes sense to ensure the basics are right. From here, it will get at least one coat of primer (possibly two) before it sees any colour.
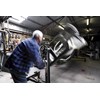
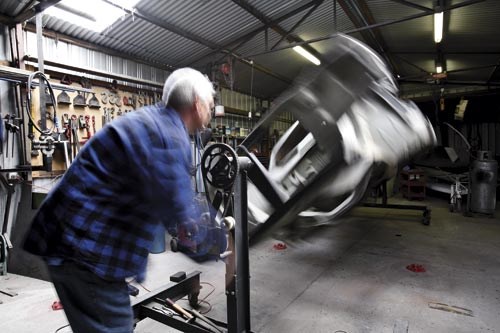 If it’s a big project and you’re serious about getting stuck into every nook and cranny, a rotisserie like this is a smart investment. As Mick, Grand Tourer’s in-house panel beater, demonstrates, not only does being able to make a whole body spin look cool, it also means you can get a proper look at trouble spots.
|
|
|
Here's our paddock find - tired but pretty straight and original. Staffer Phil Walker and Grand Tourer Restorations boss Neil surveythe work ahead.
|
|
|
|
Phil pokes around underneath and doesn’t look too happy. It’s becoming painfully obvious that even a good body like this will swallow hundreds of hours in labour.
|
|
|
|
Our panel beater has got stuck in and already you can see signs of the conversion from Falcon 500 to GTHO specs, namely the cutout for the modified transmission tunnel.
|
|
|
|
The rear-end of an HO requires numerous changes, including new hangers for exhaust system and sway bars.
|
|
|
|
The detail work extends to the front-end, where a properly prepared car will end up sporting a number of new mounts and supports.
|
|
|
|
A bigger engine and more power means more stress on the body and the need for more bracing, like this one under the front seats.
|
|
|
|
The floor pan is a sad and sorry sight at this stage. While the required holes have been cut, there’s a long way to go.
|
|
|
|
The ‘after’ shot; by now it’s been sand blasted, braced, and given a coat of epoxy. But the
|
|
|
|
And here it is at left. The one on the right doesn’t look too bad from a distance, but close inspection reveals it’s riddled with rust.
|
|
|
|
Mick gets busy with the welding kit and installs new bracing. This is a crucial element on the lower front crossmember.
|
|
|
|
It’s not just for appearances. The HO will be running around 400 horses, which will be enough to turn the original setup into a twisted mess.
|
|
|
|
We’re getting close. Our remarkably tidy Falcon body still required something like 200 hours to get it into shape. The panel people reckon some projects have required more like 550! All this trouble might seem pedantic but even a top-notch replica Phase III is worth well into six figures, so it makes sense to ensure the basics are right. From here, it will get at least one coat of primer (possibly two) before it sees any colour.
|
|
|
|
If it’s a big project and you’re serious about getting stuck into every nook and cranny, a rotisserie like this is a smart investment. As Mick, Grand Tourer’s in-house panel beater, demonstrates, not only does being able to make a whole body spin look cool, it also means you can get a proper look at trouble spots.
|
We've found the right car, now the real work begins...
|
|
Project HO part 2: Body-Building
|
PROJECT FORD FALCON GT-HO PHASE III
Here's the story...
After witnessing Project HO’s bodywork getting rebuilt, you can’t help but speculate on how many half-finished projects are sitting out there, with the owners wondering how in hell they will ever get finished.
Seeing the considerable effort and skill involved quickly makes you realise how an allegedly ‘simple’ car rebuild can easily climb into the six figures.
Which is not to say it’s impossible – far from it. But there’s a great argument for going in with your eyes – and wallet! - open.
Of course Neil Thompson, the boss at Grand Tourer Restorations (grandtourer.com.au) does this stuff for a living, so his work has to be absolutely top notch, and a long list of national award winners confirms it is.
So how does he go about a project like this? The very basic process is find the right body, strip it, identify the problem areas, get it sand-blasted, rebuild and prime ready for the paint.
It sounds pretty easy when you say it quickly and you can see how a project born late one night over a few cold beers ("How hard can it be?") leads to a much more daunting prospect in the cold light of day.
The right stuff
At risk of stating the bleeding obvious, it’s an enormous help to have the right car to start with – something confirmed by Neil’s tame panelbeater, who said he’s spent up to 550 hours on a single shell. Multiply that by typical labour rates and you soon realise how the numbers add up.
And it seems there is no shortage of work. The specialist panelbeater used by Neil, for example, never advertises nor wants his name published. He works by referral only and confirms he is never short of work.
What keeps him going is the near-blind enthusiasm among people who have these cars, spurred on by the astronomical price tags. That means that just about any rust-bucket is in with a chance as a living, breathing project car. So when do you say no to a shell? "You don’t," says the irrepressible Neil, "You never say no. There’s no car ever that can’t be repaired – it’s just how far you’re willing to go. It’s a huge project to take on a car with a sad body."
As explained last issue, our example is an ideal starter car. A Falcon 500, it had been sitting in a paddock for a few years, but not too long. A careful hunt around revealed all the seams to be in good condition, while there was no sign of a major bingle. The engine had been stripped out already, which was of no concern to us, but there was evidence to suggest it had spent much of its life dry and warm in a shed.
Of course that didn’t mean a lick of paint would see it right. There was still some 200 hours of panel beating in front of the team.
"We brought it back here and stripped it right out and then took it out to our panel beater," says Neil. "He marked out all the areas the attention needed to be paid to, then we took it out to our sandblaster, who put it on a rotisserie. We’ve had the car upside down, inside out, sandblasted the whole thing."
Back to the panelbeater, who began turning the rust components into steel, a process often involving cutting out the shot sections and replacing. This is where old Falcons and GTs in particular are well served at the moment. There isn’t much you can’t buy for them. For example, the front footwells looked like mosquito nets once they’d been blasted, but our other partner in this project, Rare Spares (rarespares.net.au) will sell you a set of replacements off the shelf.
Given the potential value of the end product, it pays to be thorough. "We had to pull the sills apart on it," explains Neil, "Have a look at the torque boxes on the car, go through the whole structure, then repair the rust on the outer panels."
Subtle transformation
Now for the clever bit: turning the tame, a Falcon 500, into the feral, a Phase III. The car will always be a replica – something the ID plates will attest to – but it will nevertheless be a nut and bolt HO, just like they left the factory. Except it will be better built.
"That consists of turning it into a 54H body shell, which consists of doing all the modifications to suit a 351,"
says Neil.
The vast majority of changes are hidden away underneath the car and it takes someone with thorough knowledge of the series to understand where to look.
From the back of the car and working forward, here’s what the list looks like: Exhaust hangers, including the double plates on the chassis; Sway bar mounts plus a few other underside mods, including for the fuel line; Bracing under the front cross-member; Strut kit and bracing in the bonnet; Plus, the hump in the floor for the double bracing of the seats.
Then attention was turned to more obvious cosmetic give-aways, such as modifying the dash panel and cutting a hole in the bonnet for the shaker.
Neil tells us that while parts supply used to be an issue, that’s become much less of a problem in recent times. Even bigger cosmetic panels such as front guards, bonnets and door skins can be obtained. There has even been talk of manufacturing complete GT bodies in Malaysia, though a lot of hurdles need to be overcome before we see one on the road here.
As for our toy, it’s a bit depressing to see it in the panel shop. We know it’s much closer to being a HO, but, let’s face it, all we’re staring at is a lump of metal with no moving parts. You could be forgiven for wondering where the time and money went. The pay-off is still a long way down the track.
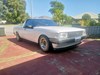
It’s really only in the coming stages of the build that the whole thing starts to make sense. Now the body is off to the painter, who will be prepping the surface to lay down the Vermillion Fire paint.
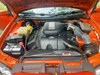
(ital) Next issue the folk at Grand Tourer will be tackling the mighty 351 powerplant, with a target output of around the 400 horses – more than enough to get the driver’s attention.
Stay tuned…
Guy Allen
Neil’s top 3 tips on choosing a body
1. They all have rust including, nine times out of ten, in the sills – the only question is how much.
2. Beware cars that have been turned into look-alikes. Some have been done several times and each time they get patched up, and end up with bog from one end to the other.
3. A bog-stock Grandpa and Grandma car will nearly always be a better starting point than a partially modified car.
Rare Spares top tips on preparing a body
1. Make sure you choose the right panel shop. The wrong one can delay your project to the point you lose interest.
2. Prior to paint, ensure you are 100 per cent happy with the gaps on the car. It’s much easier to get them right the first time. Painting a second time will be frustrating and costly.
3. Supply the panel beater with all the rubbers and badges for the car for test fitting prior to paint. Gaps can alter once you have the rubbers fitted.
4. Preparation is the key to a good paint job. The best painter in the world will only produce a finish as good as the prep job under the top coat.
Unique Cars magazine Value Guides
Sell your car for free right here
.jpg)
Get your monthly fix of news, reviews and stories on the greatest cars and minds in the automotive world.
Subscribe


.jpeg)
.JPG)

